Hey, so some things have changed since I shared this article! You can now use Claude Code on the desktop app, and you can also install it natively. My setup still works (and I still use it like this) but now you have some more options.
I’ve been using Claude Code for writing code since it launched, and recently I had an unlock when I started using it for actual writing. Claude Code is Anthropic’s AI, but not the one in the browser. It runs in your terminal and can read, write, and move across your actual files. I’ve been using it with Obsidian, a notes app that stores everything as plain text files on your computer. Used together, I’ve been able to surface context across large bodies of work, rather than trying to hold it all in my head at once.
This hasn’t made me faster, but it has made me more ambitious. I’m thinking bigger than I was before. Side project ideas that have sat on my wish list for years are coming to life, and things that were previously too complex are now within reach. And instead of managing individual documents, I’m building systems of thinking. I’m having a blast.
If you’re working across a content strategy, managing multiple documents, or trying to hold a complex project in your head, genuinely, you should try this. I’ve been talking about it with marketer friends and realised, it’s different from the copy/paste workflow people run in ChatGPT or Claude chat. So I’m sharing my setup and my learnings.
And I’m still figuring it out. I’ve made mistakes, like demolishing my token budget in the middle of a project. I’ve asked Claude to do something simple and watched it build me an app I didn’t ask for, and I still write plenty of crappy prompts. But that’s the deal: you learn fast by doing it, and the instincts start to build once you start.
And look… it’s a weird time. There’s a lot of anxiety about AI, what it means for our jobs, our skills, our sense of what we’re actually good at. It makes me nervous too. But every day I see more and more companies going “AI first,” and I for one want to remain employable. And I want to share what’s been working for me with people I care about.
So if you’ve never used Claude Code (or anything like it) I invite you to come down the rabbit hole with me. Bonus: if you follow this, you’ll quietly build some technical skills:
- Working in a terminal (I promise this is not as scary as it sounds)
- Thinking in file systems, not just documents
- Version control with Git
- Prompt engineering and understanding how to get the most out of AI
Level 1 — Get the tools installed
Obsidian: your writing space and file system
Go to obsidian.md and download the app.
Open it and create a new Vault (it’s just a folder on your computer where all your work lives). Call it something useful. “Content Projects” or “Writing” or whatever makes sense. Here’s the important bit: don’t get overwhelmed if you’ve never used it before. Don’t worry about the plugins or settings. I mean it. Just create a file and write something. A sentence.
The point is to get used to the basic shape: folders, files, writing. That’s all you need. The fancy stuff comes later, if ever. (Obsidian docs are there when you need them.)
Markdown: don’t stress
Obsidian uses Markdown to format text. You don’t need to learn it (our mate Claude will handle most of it for you) but here are three things that come up constantly:
# Heading 1
## Heading 2

**bold text**
*italic text*

- bullet point
- another bullet point
Get a Claude account
Go to anthropic.com and sign up. I have been seeing how far I can get on the pro account, plus the extra usage bonuses that Claude is giving me to keep me pushing my limits (I see you, Anthropic).
Install Claude Code (it’s going to be ok, I promise)
This is where people get nervous. It’s ok. We’re going to be talking to the computer. Pretend you’re a hacker from a 90s movie.
(If you’ve never opened Terminal before, here’s a quick orientation.)
- Install Node.js from nodejs.org if you don’t have it (just grab the LTS version)
- Open Terminal (search for it in Spotlight — press
Cmd + Space, type “Terminal”) - Paste this into Terminal and press Enter:
npm install -g @anthropic-ai/claude-code - When it’s done, type:
claude - Follow the prompts to log in with your Anthropic account
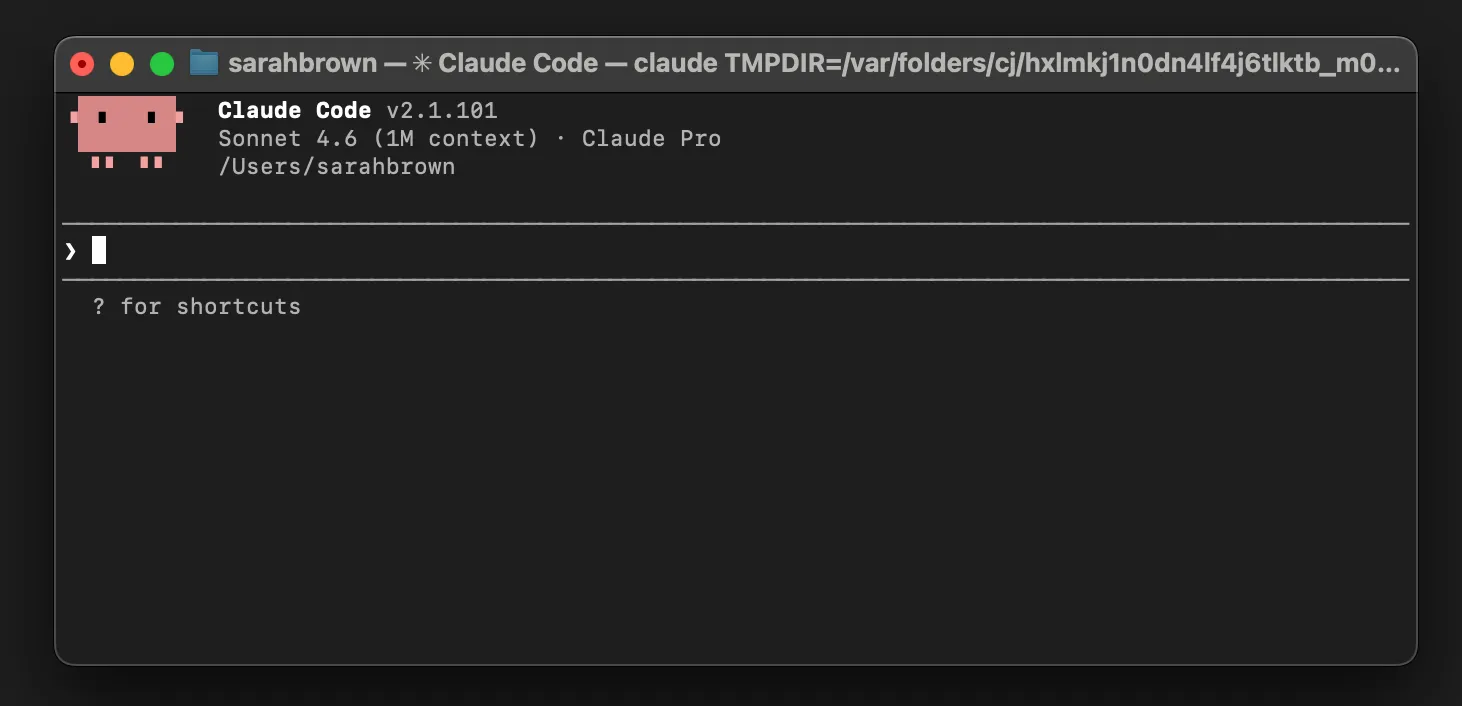
If it works, you’ll see Claude Code’s interface in your terminal. You’re in.
If something goes sideways, the Claude Code docs have troubleshooting steps.
Setup takes about 30 minutes. You can do this. I believe in you.
Level 2 — Start working with Claude in your files
Navigate to your Obsidian vault in the terminal.
- In Terminal, type
cd(with a space) - Open Finder, find your Obsidian vault folder, and drag it into Terminal
- Press Enter
You’re now inside your vault in the terminal. When you run claude here, it can see and work with all your files.
Start simple
Run claude to start a session.
Then ask Claude to read one of your files:
Can you read this @my-brief.md and suggest a structure for this post?Start with one file and one question. Get comfortable with the back-and-forth. This is where things get different — you’re not writing alone anymore. Claude can become a thinking partner, not just a generator.
Then expand
Once you’re comfortable, try this:
@brief.md @notes.md @previous-draft.md
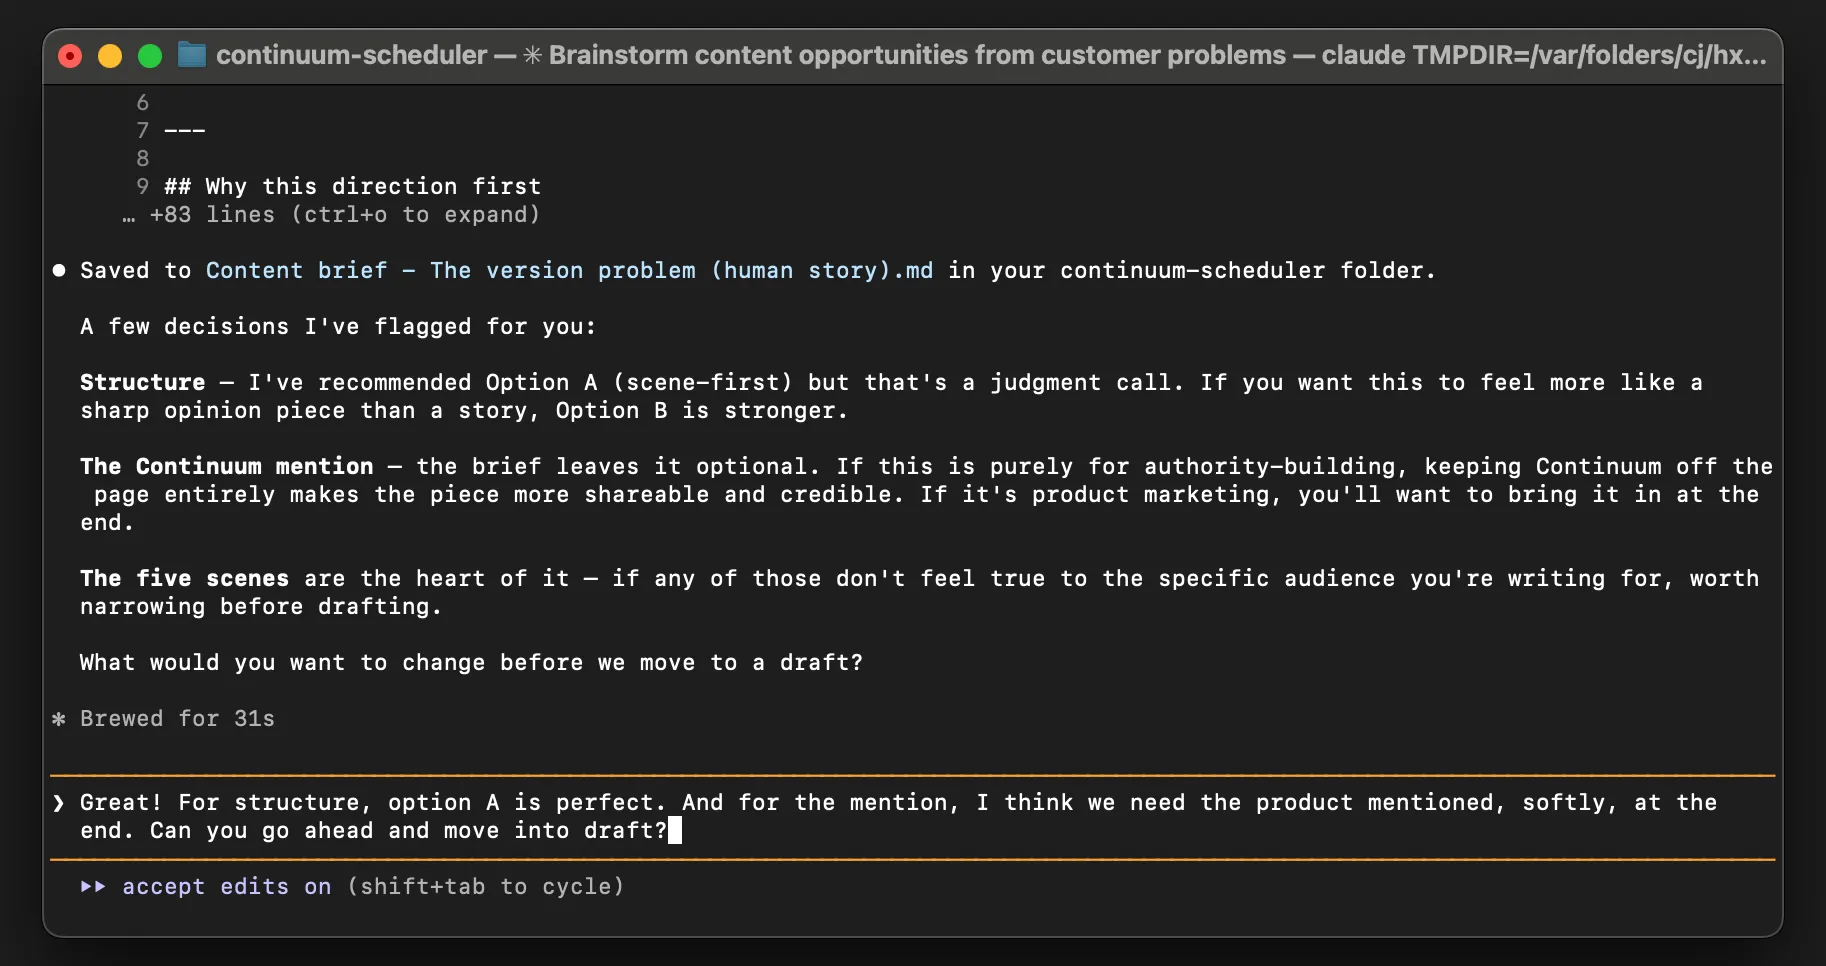
Are there themes across these I'm not seeing?This is the moment you start working in systems and making connections across documents. Claude can hold multiple files in context and find connections you’d miss. Ideas start talking to each other.
Ask Claude to:
- Create new files from your thinking: “Based on what we’ve discussed, create a file called outline.md with a structure for this post”
- Organise messy dumps: “I’ve dumped a bunch of random ideas in here. Can you pull out the 3 strongest threads and create a separate file for each?”
- Find patterns: “Look at all my old content briefs. What’s the pattern in what works?”
This is the bit that unlocked me. You stop managing individual text documents and start building a system.
Level 3 — Working smarter with prompts
Once you’re working across files, the single biggest lever you have is the quality of your prompt. Vague in, vague out. Sharp in, and Claude can do real editorial work.
Here’s why context and prompt quality matters: when Claude reads your full brief, your past drafts, your style guide, and your audience definition all at once, it makes better judgment calls. It sees how everything connects. It catches contradictions. It understands the why behind what you’re asking.
How to write a prompt that actually works
This is where I’m still learning, but here’s what I’ve figured out:
1. Give it a role with stakes. Don’t just say “be critical.” Say: “You are a senior editor at a publication that rejects 90% of submissions. Your job is to protect readers from mediocre content. You are not here to encourage the writer.”
2. Forbid the behaviour you don’t want. “Do not soften criticism with praise. Do not use the phrase ‘overall this is good but…’ Do not suggest the piece ‘has potential.’ If something doesn’t work, say it doesn’t work and say why.”
3. Give it specific lenses to apply. Rather than “give feedback,” give it actual work:
- Does the opening earn the next paragraph?
- Is every claim either proven or attributed?
- Where does the reader’s attention drop and why?
4. Specify the output format. “Give me: (1) a one-paragraph verdict I could show the writer, (2) a numbered list of specific problems with line references, (3) the single most important thing to fix.”
5. Load the right context. In Claude Code, your prompt can read whatever files it has access to (remember when we did the cd command?). So every time you run it, Claude has everything it needs. You’re not re-explaining yourself.
I still get this wrong. I still ask Claude to do something I haven’t fully thought through, and the output is questionable. I rewrite the prompt and try again. I think prompt engineering is a practice, not a science. You get better at it by doing it, by failing and iterating, by noticing what works and what doesn’t.
Level 4 — Reality checks
Tokens and cost
Claude has a “context window”: how much it can hold at once, measured in tokens. Every message you send and every file you load costs tokens. It adds up quickly. A few things to know:
- Short, specific prompts use fewer tokens than long, vague ones
- Large files cost more to process
- Check your usage occasionally. I have absolutely blown past my limit mid-project. It teaches you quickly to be intentional.
- If you go over your limit, you’ll get an error. You can pay for extra usage beyond your plan
Models: which one to use
There are different versions of Claude. New models drop regularly, so I’m not going to date this, but here’s the rough shape right now:
- Haiku: Fast, cheap, great for simple tasks (formatting, summarising, quick edits)
- Sonnet: The workhorse. Best balance of speed, cost, and quality. Use this most of the time.
- Opus: Most powerful, slowest, most expensive. Use for complex reasoning or when quality really matters (but be specific with your prompt or it will go off on tangents).
When in doubt, use Sonnet. And check which models are current when you’re building your workflow, because this stuff changes faster than blog posts.
One rule that really matters
If it matters, show it to real humans.
Claude is a collaborator, not a publisher. Before anything gets shared widely, a real person should read it. Not because Claude gets it wrong (it sometimes does) but because the stakes are yours, not Claude’s.
Level 5 — Go further (optional)
Two things that will make this workflow significantly better once you’re comfortable. Neither is required on day one.
CLAUDE.md — context that travels with you
This is optional. Skip it if you’re overwhelmed. But if you’re planning to do multiple sessions on the same project, this saves you a ton of re-explaining.
What it is
A CLAUDE.md file is a briefing document that lives in your project folder. When you start a Claude Code session, Claude reads it automatically and treats the contents as context for everything you ask.
Think of it as writing an instruction manual for a team member who arrives at the start of every session with amnesia. You tell them once: “Here’s our voice. Here’s what we’re building. Here’s what I care about.” And then you don’t have to say it again.
How to set it up (the fast way)
Inside a Claude Code session, there are shortcuts you can use. Type /init to bootstrap a CLAUDE.md file automatically. Claude reads your project and generates a starter file.
Then delete most of what it creates. The default includes obvious things Claude can already infer from your files. Every line competes for attention. Keep it under 300 words.
Here’s what to actually keep, edit, and make your own:
# [Your Project Name]

## Project context
This is a [blog post / content system / workflow guide] about [topic].

## What I care about
- Specificity over vagueness
- Honesty over polish
- Short sections over long essays
- Examples over abstractions

## Don't do this
- Don't write bullet points when I ask for a draft
- Don't soften the tone with corporate phrases
- Don't over-explain technical concepts
That’s enough. Claude will read your actual files for the rest.
The tradeoff
Every line in CLAUDE.md loads into every session, whether it’s relevant or not. So be ruthless — only include what you’ll actually reference. If you put ten things in there marked IMPORTANT, nothing is important.
For a one-session project, you don’t need it. But if you’re going to run multiple sessions across the same work — which you will, once you start doing real projects — CLAUDE.md saves you from re-pasting your voice, your goals, and your context every single time. It’s the difference between “let me re-explain everything” and “we’re picking up where we left off.”
Version control with Git
Once you’re working across files, version control matters. (New to Git? GitHub’s git-guides are a friendly place to start.)
Claude might rewrite a section you loved. You can git diff and see exactly what changed. You can revert to an earlier version. It’s a safety net.
Also, your Obsidian vault is just a folder on your computer. If you work from your laptop in the morning and your desktop in the afternoon, you have to manually sync files. Or you end up with two versions of the same file, and they drift. Or you lose your laptop. Git fixes this.
And if you ever build anything bigger (a content system, a knowledge base, a collaborative project) version control is table stakes. Learning it now while the stakes are low is smart.
How to set up Git (I’m here for you)
You’ll need two things: Git (the tool) and GitHub (the place to store your work online).
-
Install Git. Go to git-scm.com and download it. Run the installer. That’s it.
-
Create a GitHub account. Go to github.com and sign up. Free, takes two minutes.
-
Create a repository. In GitHub, click “New repository.” Call it something like
content-vaultorwriting-projects. Click “Create repository.” -
Connect your local vault to GitHub. This is the only slightly scary part, but you know the terminal, remember her? It’s three terminal commands.
cd path/to/your/obsidian/vault
git init
git remote add origin https://github.com/[your-username]/[your-repo].git
(GitHub will give you the exact second command when you create the repo, just copy and paste it wholesale)
-
Make your first commit. Now, whenever you finish a chunk of work, you can save it to GitHub:
git add .
git commit -m "describe what you just did"
git push origin main
That’s it. Your files are now on GitHub, synced across all your devices, and you have a complete history of every change.
The scary stuff of Git (merge conflicts, rebasing) only comes up when you’re doing something complicated. For an Obsidian vault, you’ll be fine.
Claude Code also works great with Git. You can tell Claude “commit these changes with a message describing what you did” and it will do it for you — a full audit trail of everything Claude changed, plus your human edits, all tracked and reversible.
Start simple: vault on your computer, synced to GitHub. git add, git commit, git push. That’s all you need. You’ve got it.
The sci-fi future we were promised
I watched Flubber with my son the other day, and when I saw Robin Williams as the obsessed tinkerer with his robot assistant, I thought… oh, we’re pretty much here. This is (nearly) the sci-fi future I was promised in the nineties. Not sure when I’ll build a steel corpus for my Claude, but it could happen.
Like I said. It has made me more ambitious.
And I think I actually feel less anxious about AI, not more. Because I’m not passively consuming the hype, I’m actively using it to create stuff I care about.
Over to you
Start with Obsidian and an Anthropic Pro account. Get comfortable in the terminal. Spend a few sessions just talking to Claude in your files. Feel what it’s like to work across files. Start building prompts. Experiment. Fail. Learn what works. Don’t worry about agents. Don’t worry about agents ever, if you don’t need to. Build your practice around sharp prompts and full context.
You can do this.
In the next post, I’m going to show you what this actually looks like in practice with a wild demo that I’m cooking up. Watch this space.